
As an art form, fashion photography combines elements of both portraiture and product photography. It's also important that the clothes or accessories being sold in the shot be shown in a vivid light. There has never been a time when settings and composition have not been essential.
It's crucial to zero focus on a certain person, stance, outfit, or other element of a photograph. After snapping a photo, where do you store it? How do you get started with altering photographs for use on social media or online portfolios and websites? Photographs with an editorial angle or theme are better suited for conveying a narrative or stirring an emotional response.
The photos created by a fashion photographer often aim to sell the viewer on a certain ideal of happiness, success, or fulfilment. Therefore, at the top of the field, you need to use unusual settings and have fresh photographs. Finally, we arrive at the topic of fashion photo editing. The process of editing a fashion magazine can be lengthy. By streamlining your file management and photo editing processes, you will be able to accomplish more and see faster results.
To be a successful photographer in the modern digital world, you must be comfortable with and proficient in Adobe Photoshop. This practise and the impact of picture editing software like Photoshop on the medium might be debated. Instead of viewing Photoshop as an alternative to the darkroom, think of it as a tool for creating the effects you want. Vogue Ballroom is your ultimate Wedding Reception Venue to create your dream wedding. The importance of post-processing in modern photography cannot be overstated. It's a must-have ability whether you want to apply it subtly or for massive composites.
In this article, I'll go over some of the basics of fashion photography editing and give you some pointers on how to get started if you've never done it before.
Tips & Elements of Editing Fashion Photography
The first thing to do is get your hands on the appropriate equipment. Our editing software guide can help you sort through the options and choose the one that best suits your needs.
Learn the ins and outs of Adobe Lightroom Classic and Photoshop with the help of this comprehensive guide. A few of the aforementioned editing tools make it possible to skip through several of these procedures. It's up to you how much of an adjustment you make. Nonetheless, be true to your own style.
Commonly Used Formats for Saving Documents
If you want more editing latitude, shoot in the RAW file format rather than JPEG. Since RAW is a lossless file format, no compression will occur after the fact while saving your shot. Because of this, you can make more thorough changes because you have more data to work with. Additionally, if you initially under or overexposed an image, you will have more leeway to adjust the exposure.
Methods of Basic Editing
Have you stopped looking for your photographic voice? Doing so will allow you to experiment with different editing techniques and create a style that you can eventually refine to your liking. In contrast to the extensive editing that can feel more like today's ubiquitous fashion advertisement, less editing provides for a much cleaner editorial or journalistic feeling. To get the best results in the fashion industry, artificial light must be used for the vast majority of shoots. You can use natural light, but consistent artificial lighting will also improve your photos.
You may improve your photography by using whatever light sources you have available and modifying them with reflections, diffusers, and other tools. At this point, you should start editing your photos by adjusting the colour and white balance. These features can be accessed via the Lightroom>develop menu. We can use the eyedropper to pick a specific area to white balance, or we can adjust the temperature and tint sliders to achieve our desired effect.
Image White-Balancing
You want the backdrop to be white or somewhat chilly when you white balance this shot. It's too cyan and magenta right now. A mixture of green and orange in the white balance can help combat this. Use the Temperature and Tint controls to achieve the desired effect. Selecting the eyedropper tool is another option. Then, you may white-balance the shot by dragging the tool around the image. Applying a little pressure with an eyedropper, you may get the exact shade you want. The whites of your idea's eyes need not be perfect to be effective.
It's possible that a different temperature would work better for the photograph. A very subtle shift towards green or magenta can also produce the desired effect. Both the As Shot and Auto modes allow for adjustments to be made to the white balance. Don't settle for these settings; instead, utilise them as a starting point for further refinement. In this stage, white balance has been applied. Boosting your reputation with just a few tweaks.
Changes on a World Scale
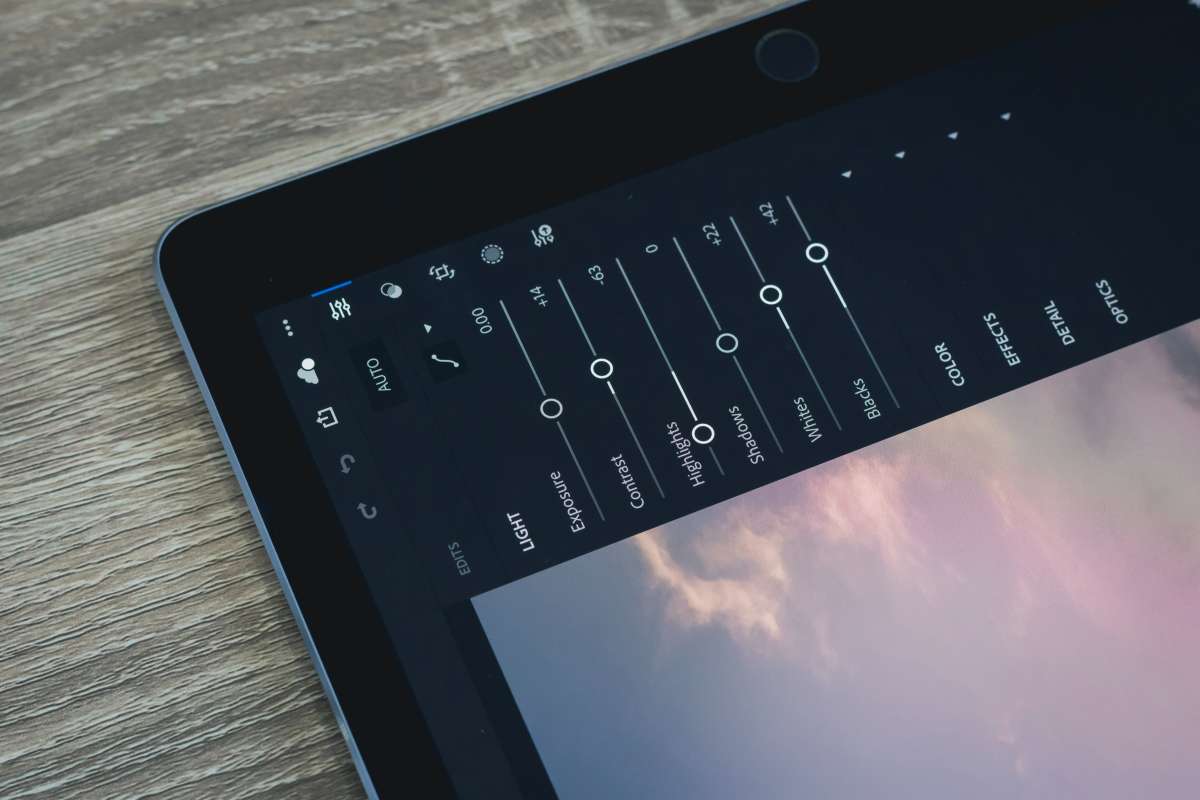
As soon as you've finished with the colour corrections, you may go on to the global tweaks. The Lightroom develop module's Basic tab is a good place to begin. Alternatively, Photoshop's Camera RAW filter may be applied. The vast majority of these features may be found in any Camera RAW editing application. In most cases, little modifications are preferable to major ones.
The Saturation and Clarity sliders can be used to improve a photo, but when they are cranked all the way to eleven, it's typically easy to tell that the photographer is just starting out. (Of course, this isn't always the case, and restoring shades or highlights is often necessary. Changing the exposure slider in between steps while keeping an eye on the Histogram is an excellent approach to learn how to edit. Check out Vogue Ballroom Wedding Venue for your ultimate wedding reception. The histogram provides an easy-to-read two-dimensional representation of the distribution of colour intensity across your exposure range.
Adjust the Exposure slider whenever you make a modification to the Lights, Shades, Whites, or Blacks controls. With this method, you can make adjustments to the photographs while maintaining a consistent exposure. Local colour modifications can be made using various sliders, including the HSL (Hue/Saturation/Luminance)/Color sliders. You can often achieve a magnificent or ethereal skin tone by making the appropriate modifications in the oranges, yellows, and reds. The skin tone of a portrait's subject is extremely important since it can convey a message, theme, or idea to the observer.
Further Smaller Edits
Lightroom's presets are a major feature. Presets are a fantastic place to begin editing, and they allow you to quickly apply a colour scheme that might work for your personal aesthetic. Using presets is a terrific way to get inspired for future projects, and making your own presets from previous edits is a simple method to recapture some of the effects you liked. Click the plus symbol in the Presets tab of the Lightroom Develop module if you like the way you changed an image and want to effortlessly apply similar modifications to another shot.
During this time, the enhanced image is chosen. Then, give your new setting a name and save it for later use. To make these modifications to the currently selected image, simply click it or another preset you have downloaded. Adding +40 to +80 to the Sharpness slider is a terrific approach to make your Instagram photos stand out. Instagram automatically reduces the resolution of your photograph, thus the boost in sharpness will make up for the decrease in quality without distorting the image too much.
Aqua orange is a really on-trend colour scheme right now, and you can achieve it by adjusting the Saturation and Luminance sliders on the HSL/Color tab. Adobe Color, a no-cost online tool, is useful for picking complementary colours for an image.
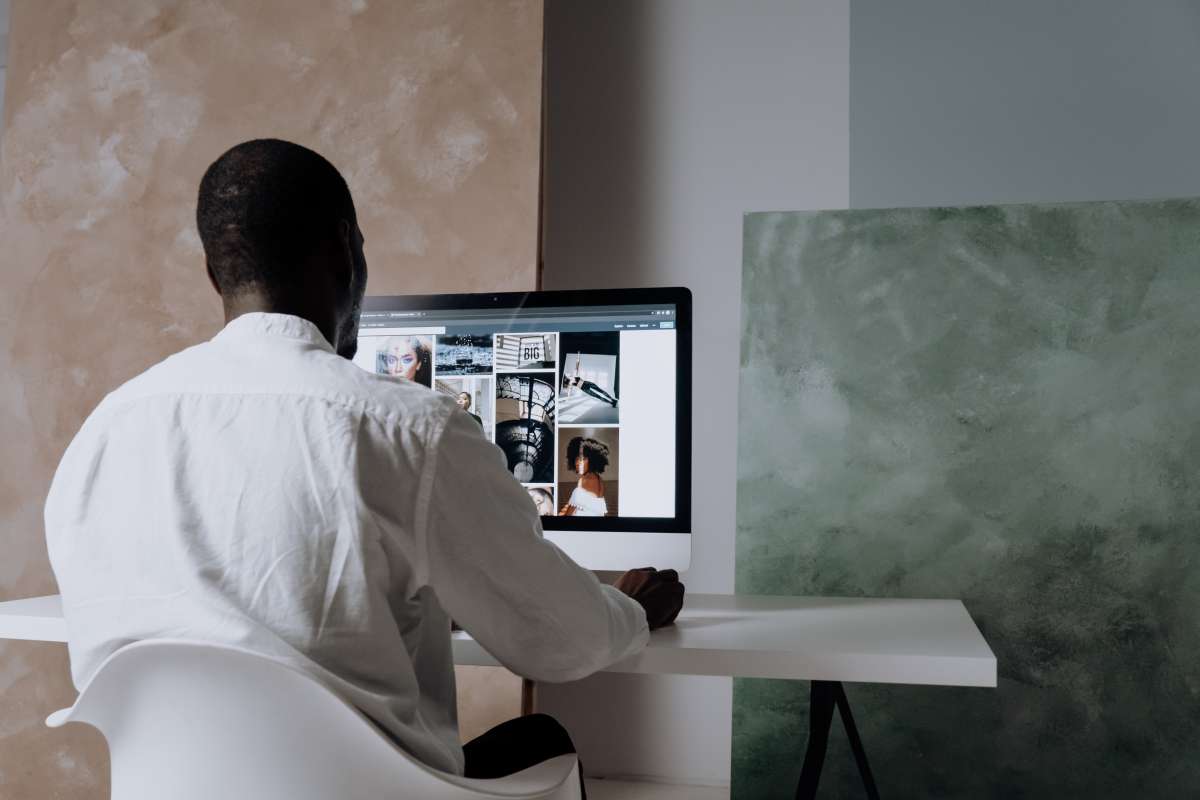
Tips For Softwares You Should Use To Retouch Fashion Photos
Capture One Pro, Lightroom, and Photoshop are the most common editing softwares used by commercial fashion photographers. Lightroom can be used anywhere an editor is needed. It's ideal for selecting and arranging photographs, as well as making global changes to them. Specific areas of the image can be modified with the use of area-specific modification tools. However, Lightroom excels in global edits, which may be applied to the entire image at once. Photoshop is essential for professional photographers since it allows them to clean up and polish their images before sharing them. Taking photographs for a fashion magazine requires an eye for generating a perfect image. It must be professionally done and showcase the garments and the model to their full potential.
Fixing Up Fashion Shots in Lightroom
While Photoshop is ideal for retouching, many photographers think that Lightroom is more useful for general editing tasks. After that, launch Photoshop and polish the image to your liking. Lightroom is a useful tool for maintaining order. Saying “I do” at Vogue Ballroom is an elegant and luxurious affair. One of the major reasons for its widespread adoption is its compatibility with Photoshop.
Pick a Color Space Profile
Choosing a Color Profile in Lightroom is the first step in editing your images. Here you will find the colour profiles that your camera uses. If you want to make the most informed decisions possible when editing, doing this first is highly recommended. The hue and contrast will change dramatically based on your selection. Make minor adjustments in Lightroom's Basic panel.
White-balance adjustment comes next. White Balance is something that can be adjusted in-camera for precision or played with for artistic effect. If you prefer a warmer aesthetic, for instance, a white balance of 6000 or higher will work well for you. The next step is to head to the Basic Panel and make adjustments there. We wouldn't suggest beginning with the exposure until you see that these parts of the image are significantly under or overexposed. You may drastically improve your appearance by making these simple changes. Rather to increasing the overall brightness of the image, it is preferable to adjust each one separately.
With Adobe's recommended Lightroom workflow, you should start at the top and work your way down the panels. You may have to switch between meetings and sliders several times before achieving the desired effect.
Which Presence Settings Should You Modify
Lightroom's Vibrance slider is preferable to the program's Saturation slider when it comes to post-processing. The midrange is enlivened by the addition of vibrancy. Increasing the saturation of a photograph can make its colours seem garish and exaggerated. Keep an eye on the results as you adjust the Saturation slider if you decide to utilise it. In most cases, a bonus of +10 is excessive. It's important to improve the image's Contrast by adding Clarity. Instead than using a large amount of a single tool, like Contrast, the best retouching is generally the result of layering multiple effects at modest quantities. Using Variance, Clarification, Textured, and the Tone Curve together can help you get the desired level of contrast in your image.
Modify the Tone Curve
The Tone Curves in Lightroom is often overlooked by amateur photographers despite being the program's most potent editing feature. Your image's tones are represented graphically in the Tone Curve. Changing the curve has a large effect on the contrast between the dark and light areas.
Modifying the Tone Curve into something resembling a gentle S is the most typical method. To get started, enter the Point Curve and lift the centre of the curve. As a result, the image's midtones will be bolstered and the overall brightness will be increased. You may deepen the shadows by pulling the turn down in the bottom quarter of the curve. Making even these minor adjustments will give your image a far more engaging appearance. If you're just getting started with the Tone Curve, we recommend tinkering with the Region Curve's knobs and sliders.Although you won't have quite as much freedom as with the Point Curve, you'll still be able to make some pretty dramatic adjustments to the image's overall look with this tool.
Modify the Color Using the HSL Controls
Color adjustments have a big effect on photos whether you use Lightroom or Photoshop. Color is a component of composition that can greatly affect your photo's appeal. You may prefer photos that look desaturated or those have intense colours and lots of contrast. You may want to tone down the orange Saturation in your photos unless you're going for a warm look. Usually, it gives off an impression of being excessively powerful. The Luminance controls also warrant your attention. They have more power than the Saturation sliders since they affect how each colour in the image is shown.
You can make your highlights and shadows pop by using split-tone.
When it comes to post-processing, Lightroom's Split Toning tool can be invaluable. With Split Toning, colour is added selectively to the lightest and darkest areas of an image. Be aware, though, that a little goes a long way. To implement split toning, press and hold >Alt/Option while adjusting the Brightness and Contrast controls. See how each colour varies and how it might look on the image before committing to it. Turn up the Saturation to a level that you think suits the concept. This is typically a little figure. To really make your photographs stand out, you usually only need a tiny bit. Split tone was used to create a new mood and warmth to the image below.
Use the Sharpening Mask to Focus on Specific Areas
Lightroom's default level of sharpness, +50, is a decent starting point. Use the Sharpening Mask, however, if you want finer control over the final sharpness of your image.By using the Sharpening Mask, you can choose print the sections of the image that actually require sharpening. It's not necessary to sharpen everything in a shot, like the background. You are free to focus on honing in on your niche. To that end, we offer Sharpening Mask. Tweak the Sharpening Amount up to +50. While holding Alt/Option, drag the Sharpening Mask slider to the right. Notice how the image goes monochrome, like an x-ray. What's being sharpened is shown by the white area. Decide on a sum that appeals to you. Possibly a score between 70 and 90 might do the trick. The sharpening process in Lightroom should be left until last.
Changing the Blending Mode
This is a frequently ignored factor. Additionally to setting the black and white layer to soft light, You should often set the curves layer to luminosity. Instead of impacting both Contrast and Saturation, as is the case with the default setting, you will just be affecting Contrast. If the skin or clothing colour is uneven, start a new layer, change the blending mode to colour, select a very light brush opacity (between 5 and 15 percent), and paint over it. There are a total of 26 mixing modes available. Get creative and give them a try.
Conclusion
Fashion photography combines elements of both portraiture and product photography. It's crucial to zero focus on a certain person, stance, outfit, or other element of a photograph. To be a successful photographer, you must be comfortable with and proficient in Adobe Photoshop. The importance of post-processing in modern photography cannot be overstated. If you want more editing latitude, shoot in the RAW file format rather than JPEG.
No compression will occur after the fact while saving your shot. You may improve your photography by using whatever light sources you have available and modifying them with reflections, diffusers, and other tools. Photoshop's Camera RAW filter may be applied. The histogram provides an easy-to-read two-dimensional representation of the distribution of colour intensity across your exposure range. Local colour modifications can be made using various sliders, including the HSL (Hue/Saturation/Luminance)/Color sliders.
Photoshop, Adobe Lightroom and Capture One Pro are the three most common editing softwares used by commercial fashion photographers. With Adobe's recommended Lightroom workflow, you should start at the top and work your way down the panels. White Balance is something that can be adjusted in-camera for precision or played with for artistic effect. The best retouching is the result of layering multiple effects at modest quantities. The Tone Curves in Lightroom are often overlooked by amateur photographers despite being the program's most potent editing feature.
Changing the curve has a large effect on the contrast between the dark and light areas. You can make your highlights and shadows pop by using split-tone or high-contrast techniques. Lightroom's default level of sharpness, +50, is a decent starting point. Use the Sharpening Mask, however, if you want finer control over the final sharpness of your image. There are a total of 26 mixing modes available. Get creative and give them a try.
A high-end, polished look distinguishes commercial fashion photography. It requires subtle but skilled retouching.
Over time, every photographer develops their workflow and preferred way of working. These tips will help you refine your fashion retouching skills.
Content Summary
- As an art form, fashion photography combines elements of both portraiture and product photography.
- How do you get started with altering photographs for use on social media or online portfolios and websites?
- Therefore, at the top of the field, you need to use unusual settings and have fresh photographs.
- Finally, we arrive at the topic of fashion photo editing.
- The process of editing a fashion magazine can be lengthy.
- By streamlining your file management and photo editing processes, you will be able to accomplish more and see faster results.
- To be a successful photographer in the modern digital world, you must be comfortable with and proficient in Adobe Photoshop.
- This practise and the impact of picture editing software like Photoshop on the medium might be debated.
- The importance of post-processing in modern photography cannot be overstated.
- In this article, I'll go over some of the basics of fashion photography editing and give you some pointers on how to get started if you've never done it before.
- The first thing to do is get your hands on the appropriate equipment.
- Our editing software guide can help you sort through the options and choose the one that best suits your needs.
- Learn the ins and outs of Adobe Lightroom Classic and Photoshop with the help of this comprehensive guide.
- A few of the aforementioned editing tools make it possible to skip through several of these procedures.
- Commonly Used Formats for Saving Documents If you want more editing latitude, shoot in the RAW file format rather than JPEG.
- Since RAW is a lossless file format, no compression will occur after the fact while saving your shot.
- Methods of Basic Editing Have you stopped looking for your photographic voice?
- To get the best results in the fashion industry, artificial light must be used for the vast majority of shoots.
- You can use natural light, but consistent artificial lighting will also improve your photos.
- At this point, you should start editing your photos by adjusting the colour and white balance.
- Selecting the eyedropper tool is another option.
- Then, you may white-balance the shot by dragging the tool around the image.
- As soon as you've finished with the colour corrections, you may go on to the global tweaks.
- The Lightroom develop module's Basic tab is a good place to begin.
- The vast majority of these features may be found in any Camera RAW editing application.
- Changing the exposure slider in between steps while keeping an eye on the Histogram is an excellent approach to learn how to edit.
- The histogram provides an easy-to-read two-dimensional representation of the distribution of colour intensity across your exposure range.
- Adjust the Exposure slider whenever you make a modification to the Lights, Shades, Whites, or Blacks controls.
- With this method, you can make adjustments to the photographs while maintaining a consistent exposure.
- The skin tone of a portrait's subject is extremely important since it can convey a message, theme, or idea to the observer.
- Lightroom's presets are a major feature.
- Presets are a fantastic place to begin editing, and they allow you to quickly apply a colour scheme that might work for your personal aesthetic.
- Click the plus symbol in the Presets tab of the Lightroom Develop module if you like the way you changed an image and want to effortlessly apply similar modifications to another shot.
- Adding +40 to +80 to the Sharpness slider is a terrific approach to make your Instagram photos stand out.
- Adobe Color, a no-cost online tool, is useful for picking complementary colours for an image.
- Specific areas of the image can be modified with the use of area-specific modification tools.
- After that, launch Photoshop and polish the image to your liking.
- Lightroom is a useful tool for maintaining order.
- Choosing a Color Profile in Lightroom is the first step in editing your images.
- Here you will find the colour profiles that your camera uses.
- White-balance adjustment comes next.
- White Balance is something that can be adjusted in-camera for precision or played with for artistic effect.
- If you prefer a warmer aesthetic, for instance, a white balance of 6000 or higher will work well for you.
- The next step is to head to the Basic Panel and make adjustments there.
- Rather to increasing the overall brightness of the image, it is preferable to adjust each one separately.
- Which Presence Settings Should You Modify Lightroom's Vibrance slider is preferable to the program's Saturation slider when it comes to post-processing.
- Increasing the saturation of a photograph can make its colours seem garish and exaggerated.
- Keep an eye on the results as you adjust the Saturation slider if you decide to utilise it.
- It's important to improve the image's Contrast by adding Clarity.
- Using Variance, Clarification, Textured, and the Tone Curve together can help you get the desired level of contrast in your image.
- Modify the Tone Curve
- Your image's tones are represented graphically in the Tone Curve.
- Modifying the Tone Curve into something resembling a gentle S is the most typical method.
- To get started, enter the Point Curve and lift the centre of the curve.
- If you're just getting started with the Tone Curve, we recommend tinkering with the Region Curve's knobs and sliders.
- Modify the Color Using the HSL Controls Color adjustments have a big effect on photos whether you use Lightroom or Photoshop.
- You can make your highlights and shadows pop by using split-tone.
- When it comes to post-processing, Lightroom's Split Toning tool can be invaluable.
- With Split Toning, colour is added selectively to the lightest and darkest areas of an image.
- Lightroom's default level of sharpness, +50, is a decent starting point.
- Use the Sharpening Mask, however, if you want finer control over the final sharpness of your image.
- By using the Sharpening Mask, you can choose print the sections of the image that actually require sharpening.
- It's not necessary to sharpen everything in a shot, like the background.
- You are free to focus on honing in on your niche.
- To that end, we offer Sharpening Mask.
- Tweak the Sharpening Amount up to +50.
- While holding Alt/Option, drag the Sharpening Mask slider to the right.
- Notice how the image goes monochrome, like an x-ray.
- Decide on a sum that appeals to you.
- The sharpening process in Lightroom should be left until last.
- Changing the Blending Mode This is a frequently ignored factor.
- If the skin or clothing colour is uneven, I'll start a new layer, change the blending mode to colour, select a very light brush opacity (between 5 and 15 percent), and paint over it.
- There are a total of 26 mixing modes available.
Frequently Asked Questions About Fashion Photography
- Catalog Photography. Catalog photography is perhaps the simplest of the 4 fashion photography styles.
- High Fashion Photography.
- Street Fashion Photography.
- Editorial Fashion Photography.
The most usual salary of a beginner in fashion photography is around 10,00 AUD per year and can go up to 27,000 AUD . A premier fashion brand or magazine can be even better than that. With gaining experience, A fashion photographer can expect between INR 50,000 AUD to 70,000 AUD per year.