When it comes to planning your wedding day, one of the most crucial elements that can make or break the day is your timeline. I’ve seen weddings go from smooth sailing to chaotic in the blink of an eye, all because the schedule wasn’t properly mapped out, especially at a bustling wedding reception venue Melbourne where timing is key to coordinating suppliers, guests, and the flow of events.
In the excitement of the day, things inevitably go off track — hair and makeup take longer than expected, transport gets delayed, or someone’s running a few minutes late. But don’t fret. With a carefully crafted wedding day timeline, you’ll feel in control, no matter what happens.
Core Planning Strategies For A Stress-Free Wedding Timeline
When it comes to creating your wedding day timeline, there’s one golden rule: flexibility. A wedding schedule isn’t a script you must rigidly follow; rather, it’s a safety net that keeps everything on track and allows for those inevitable delays. Over the years, I’ve learned a few strategies that help ease the pressure, and trust me, they work wonders.
The 30/5 Minute Rule
Let me tell you, the 30/5 Minute Rule is a lifesaver. This one simple rule has saved me (and many couples) from running behind schedule countless times. If you think getting ready will take five minutes, be prepared for it to take at least 30 minutes. Sounds dramatic? It’s not.
On a wedding day, everything takes longer. From putting on shoes to walking to the car, there are endless distractions, last-minute questions, and the never-ending coordination with vendors.
For instance, I once had a bride who thought she could get her shoes on in five minutes, but it turned into a 20-minute ordeal because the shoes didn’t fit quite right, and the bridesmaids were still looking for the right accessories. Lesson learned: always budget more time than you think you’ll need.
Buffer Time—Why It’s Essential
One of the most common pitfalls in wedding day planning is underestimating how long things will take. Buffer time is your best friend. I always recommend adding 10% to 25% extra time for each task.
For example, if you’ve budgeted 30 minutes for the bride to get dressed, add an extra 10 minutes to that. When you account for the unexpected — like a late vendor, or the fact that a bridesmaid is running late — you’ll be grateful for those extra minutes.
Let’s say you plan for a 30-minute window for transportation. Well, that sounds reasonable, right? But what if the limo arrives late? Or there’s a surprise roadblock? By adding a 15-minute buffer, you give yourself the cushion to keep things moving smoothly.
Morning And Getting Ready: The Key To A Smooth Start
Let’s talk about the morning of your wedding. This is the time when everything is in your control… or at least, it should be. But in reality, getting ready for your wedding is where most delays occur. From hair and makeup to putting on your dress, the morning can easily get away from you.
Beauty Timing: Plan For The Unexpected
Bridal hair and makeup are often the biggest culprits when it comes to falling behind schedule. Bridal hair usually takes two hours, while each bridesmaid will need around 45 minutes for their look. Here’s where I’ve seen some couples go wrong: they underestimate how long these things will take.
I remember one wedding where the bride’s makeup artist was running late. They had allotted an hour for the bride, but she didn’t account for extra touch-ups. It ended up taking two hours, so the bride had to rush to get dressed. By giving yourself more time than you think you’ll need, you’ll ensure a calm and relaxed morning.
Strategic Order For Getting Ready
The order in which you schedule hair and makeup for the bridal party is crucial. Let’s be real — not everyone will be on time. I always advise my clients to schedule their most responsible bridesmaids first. This way, if someone is late, it won’t hold up the rest of the group.
The bride should ideally have her hair and makeup done midway through the timeline. This ensures she’s ready when the photographer arrives, but not too early that she feels rushed. I’ve found that this sweet spot helps the bride stay calm and refreshed for the ceremony.
The Dreaded Getting Dressed Moment
Putting on your wedding dress, while exciting, is often more time-consuming than expected. Don’t underestimate how long this step will take. From putting on your shoes to getting those final accessories on, it can take anywhere from 45 minutes to an hour. Allow for this time in your schedule to avoid a rushed feeling when the photographer arrives.
Photography: The First Look Or Traditional Aisle Reveal?
One of the most personal choices in the wedding timeline is whether to have a first look or wait until the ceremony. Both options have their benefits, and it’s important to consider how they will affect the rest of your day. I’ve seen many couples go back and forth on this decision, so let’s break it down.
The First Look: A Time-Saver
Opting for a first look before the ceremony allows you to get your formal photos out of the way early, giving you more time to enjoy the cocktail hour and spend time with guests after the ceremony. This option not only allows for more relaxed photos but also ensures you’re not rushed during cocktail hour, which I highly recommend.
Here’s why it works:
- Formal portraits can be completed before the ceremony, allowing you to get them out of the way without cutting into time with your guests.
- Wedding party and family photos can also be done earlier, leaving you with more time to enjoy the festivities.
- The first look offers a more intimate moment between the couple, which can be a wonderful experience before the ceremony.
Example:
I had a couple last summer who chose the first look option. After they shared their private moment, they were able to knock out all their formal photos, including wedding party and family shots, before the ceremony.
By the time they walked down the aisle, the only photos left to take were those taken during the ceremony. This saved them about 45 minutes, which they used to mingle with guests during the cocktail hour!
Traditional Aisle Reveal: A Timeless Choice
The traditional aisle reveal holds a special, emotional moment for many couples. However, it can lead to a bit of a bottleneck in your timeline. All of your formal photos will need to fit into the cocktail hour, which could leave you feeling rushed if you’re not careful. But it’s also important to acknowledge that this is the more traditional and romantic choice for many couples.
The traditional aisle reveal is ideal if:
- You want that emotional moment of seeing each other for the first time as the bride walks down the aisle.
- You prefer the photos to feel more candid and natural during the ceremony.
However, you may need to:
- Be prepared to condense formal portraits into the cocktail hour.
- Keep in mind that your guests will need to wait for you to join them, which could feel awkward if it goes on too long.
Ceremony Timing: The Importance Of Light And Sunset
If you’re planning to take full advantage of the beautiful wedding photos, lighting is everything. Whether you’re having a garden wedding, a beachside celebration, or a church ceremony, your ceremony timing is crucial for getting the perfect photos.

Golden Hour: Timing Your Ceremony For Perfect Photos
Let me tell you, nothing beats golden hour lighting for wedding photos. That soft, flattering light can make all the difference in how your wedding photos turn out. The golden hour occurs during the last hour before sunset; the key is to time your ceremony so it falls within this window.
Here’s a simple chart to help you map out your ceremony start time based on sunset:
| Month | Ideal Ceremony Start Time (1.5 to 2 hours before sunset) |
| January | 3:30 PM to 4:30 PM |
| February | 4:00 PM to 5:00 PM |
| March | 4:30 PM to 5:30 PM |
| April | 5:00 PM to 6:00 PM |
| May – August | 5:30 PM to 6:30 PM |
| September | 4:30 PM to 5:30 PM |
| October | 4:00 PM to 5:00 PM |
| November | 3:30 PM to 4:30 PM |
| December | 3:00 PM to 4:00 PM |
If you’re getting married in the warmer months, like December or January, consider planning for an early ceremony. Remember, in Australia, especially in the southern states, summer days are long, so even an early ceremony can still offer beautiful light for your photos.
Backward Mapping For Optimal Timing
To get the most out of golden hour, you’ll need to map backwards. Start with your sunset time, then subtract 1.5 to 2 hours. Once you have that, you’ll know when to schedule your ceremony for optimal lighting. I highly recommend checking a sunset calendar for your exact wedding date and location to avoid any surprises.
Managing Travel And Transitions: How To Avoid Stressful Delays
While your wedding day timeline is crucial, don’t forget to account for transportation and transitions. Moving between locations can be stressful, and I’ve seen many couples underestimate how long travel will take.
Account For Travel Time: Buses, Limos, And Shuttle Delays
Here’s a pro tip: if you’re using a limo, shuttle, or large vehicle to transport your wedding party, be prepared for it to move more slowly than expected. Large vehicles tend to be delayed, especially when navigating tight spaces or heavy traffic. Add an extra 15-30 minutes for loading and unloading passengers.
Traffic Buffering For Seamless Transitions
Adding a traffic buffer is key. If you’re moving from one location to another, especially in busy areas like Melbourne or Sydney, factor in road closures, detours, or unexpected delays. A 30-minute traffic buffer will give you peace of mind, knowing you have extra time to get from point A to point B without rushing.
Here’s how to break it down:
| Travel Segment | Estimated Time (Buffer Time Included) |
| Venue to Ceremony | 15-30 minutes |
| Ceremony to Photos | 10-15 minutes |
| Photos to Reception | 30 minutes |
By giving yourself extra time for each of these transitions, you’ll be prepared for the unexpected. Even better, your guests won’t feel rushed as they move between locations.
Reception Flow: Keeping The Party Moving
Now, we’re at the fun part — the reception! But to ensure the celebration doesn’t stall, your reception flow must be carefully timed. I’ve found that the best way to keep things moving is to have a clear plan for each part of the reception.
Cocktail Hour: A Time For Transition And Mingling
The cocktail hour is often an underappreciated part of the wedding day, but it serves as a key transition period. It gives guests time to mingle while the newlyweds finish up photos or attend to other details. One hour is typically the right length, helping ease guests into the next phase of the evening.
Dinner Service: Timing For Maximum Enjoyment
Dinner is typically the longest part of the reception. Whether you’re serving a buffet or a plated meal, allow enough time for guests to enjoy their meal without feeling rushed. Typically, 45 to 90 minutes is ideal, depending on your chosen format.
| Meal Style | Estimated Time Needed |
| Plated (Single Course) | 45-60 minutes |
| Buffet | 60-90 minutes |
| Family Style | 60-75 minutes |
Allowing enough time for dinner ensures guests feel relaxed and can fully enjoy the meal and conversation.
Key Moments: Cake Cutting And Farewells
As the night progresses, certain moments in the reception are pivotal. From the cake cutting to the final farewells, how you time these moments can make a big difference in keeping the energy up and ensuring things end on a high note.
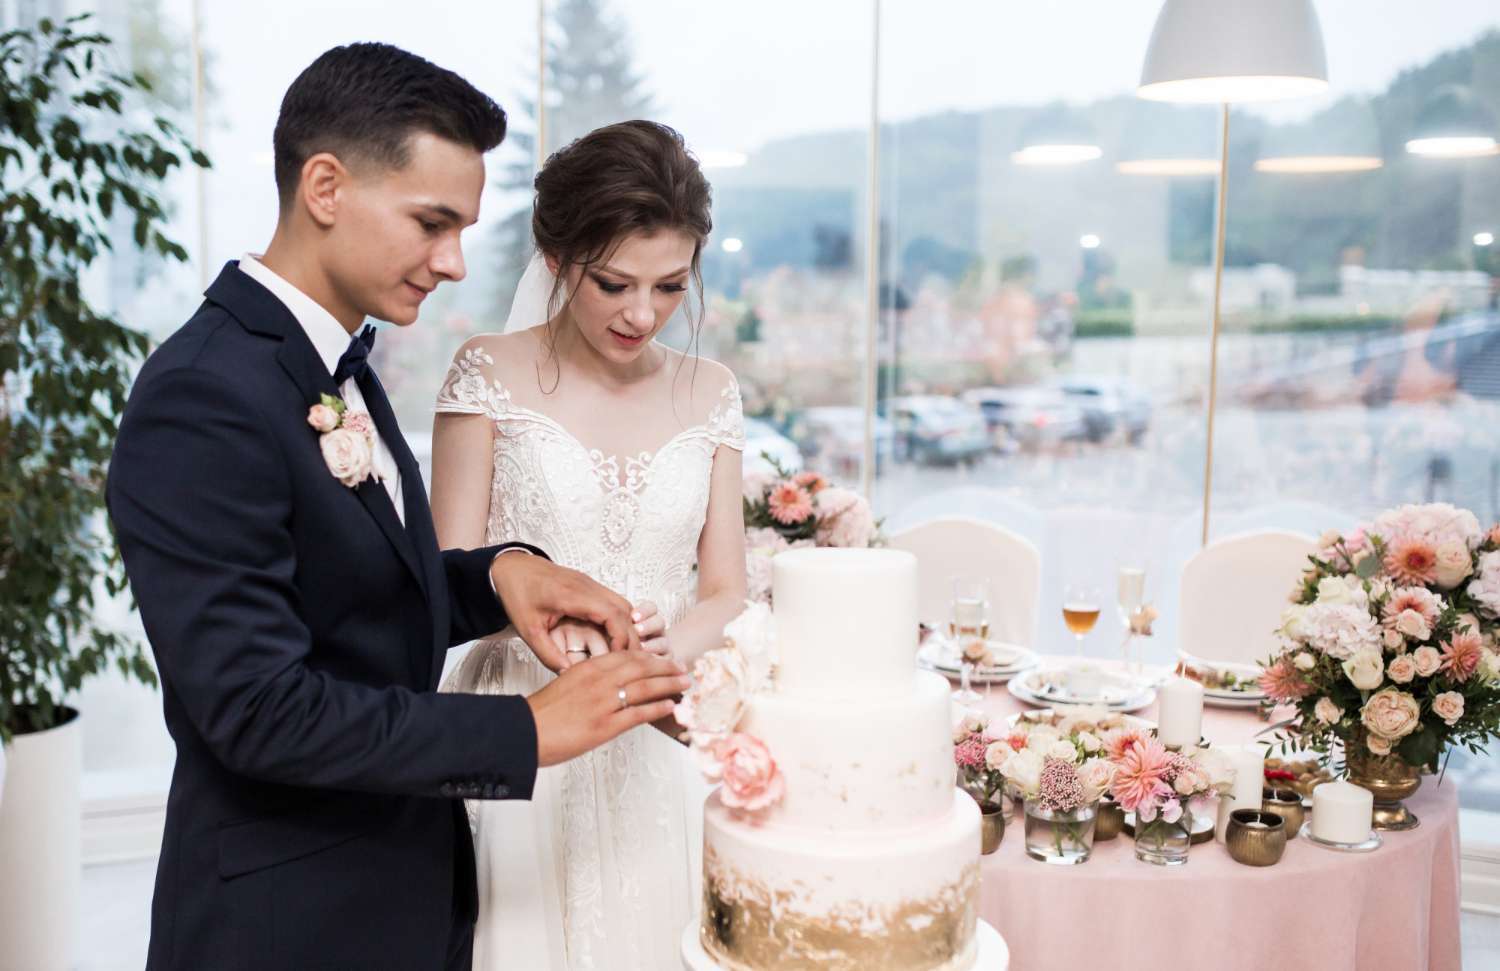
Cake Cutting: A Milestone To Signal The End
The cake-cutting is one of the most anticipated moments of the evening and signals to your guests that the night is winding down. It typically happens about one hour before the reception ends.
This timing works well for a couple of reasons:
- It gives the older guests a chance to leave without missing out on this key moment.
- It creates a natural transition for those who want to begin saying their goodbyes.
- It sets the stage for the final dances and any farewell moments that follow.
Example:
At one wedding I worked on, the couple had a live band, and they chose to cut the cake an hour before the reception ended. This gave their older relatives a chance to leave while the younger crowd stuck around for the last dance. This timing worked beautifully because it didn’t rush anyone but also kept things moving towards a smooth conclusion.
Speeches: Keeping Them Short And Sweet
While speeches are an important part of your reception, they can quickly drag on if not timed properly. To keep your guests engaged, try to keep speeches to three to four minutes per person. This ensures that everyone has their moment to shine, without the event feeling like a never-ending series of speeches.
If you’re worried about time, try the following:
- Limit the speakers: While it’s tempting to have everyone talk, try to limit it to just the key players: parents, the best man, the maid of honour, and the couple.
- Set a time limit: Politely ask your speakers to keep their remarks concise. A wedding planner or MC can help enforce this on the day.
- Keep the tone upbeat: Speeches should reflect the mood of the evening — heartwarming, funny, and not too long!
| Type of Speech | Ideal Duration |
| Bride and Groom | 3-5 minutes |
| Parents | 3-4 minutes |
| Best Man/Maid of Honour | 3-4 minutes |
| Other Speakers | 2-3 minutes each |
Final Farewell: The Last Dance
The last dance is one of the most memorable moments of the evening. It allows the couple to share a private moment at the end of the night while everyone else gathers around them. Timing this right is crucial, especially if you want to send guests off on a high note.
Here are some tips:
- Plan your last dance to occur 10-15 minutes before the event officially ends, giving you a few minutes to say your goodbyes.
- If you’re planning a grand exit, this is the perfect time to leave. You can either have guests line up with sparklers or confetti, or you can exit together with a quiet moment at the door.
The secret to a successful wedding day isn’t just about having everything go according to plan. It’s about building a flexible, realistic timeline that accommodates the little delays that come with every live event. By planning strategically, adding buffer time, and prioritising moments that matter most, you’ll create a wedding day that flows naturally and gives you plenty of time to savour every moment.
Your wedding day is one of the most important days of your life — make sure you enjoy it! A carefully crafted wedding timeline lets you relax, knowing your day is unfolding just as you imagined.